Pages

Showing posts with label Fabric Flower. Show all posts

Monday, January 27, 2014

DIY: Fabric Flower Tutorial


Today I have a tutorial to share on how to make a different kind of fabric flower.
These are more like a tight rose (The one on the far right in the picture above)

This is a VERY poor picture of what the rosette looks like (without the beads and in VERY POOR LIGHTING!!)


What you will need is:
An embroidery hoop (as long as it's bigger than the diameter of your flowers, it's all good)
A pen
About 1/4 yard of fabric (silk taffeta, or any heavier fabric recommended)
Clear thread (or same color as fabric) and needle
Measuring tape and scissors.

Start by drawing a circle on the fabric as big as you want the flower to be. Proceed by putting enough fabric through the embroidery hoop  and tightening it!


With the remaining fabric cut a strip of fabric about 2" wide by 2" long (that is about what you need for a 1.5" flower). It is better to cut the strip too long than too short. You can always cut the excess, but is very difficult adding legth to it.


Proceed by making a 5 point "star" on your embroidery hoop with the clear thread.. Please refer to the picture below. The thread should meet in the middle and then go out in five different spots around the edge of the circle

Grab the long piece fabric and secure it to the middle with the thread and needle.


This is where the tricky part begins. Pul the fabric strip over one of the divisions of thread and then under the next one. Continue going over and under around the circle until you run out of fabric.


Once you are out of fabric, add random stitches all over the flower to keep it in place.. Cut around the circle and tuck the edges into the flower. I sometimes also add fabric glue in between the rosette and the fabric that was secured by the embroidery hoop.

And ta-dah!!


Click here to learn how to make the rest of the flowers and follow me to learn how to make the garter pictured above

Do you know how to make other fabric flowers?
Aranza

Friday, January 24, 2014

DIY: Wedding Day Garter Tutorial.

Welcome friends from Pinterest!! Leave a sweet comment and subscribe if you like this tutorial


Even though we are not tossing a garter at the reception, I still wanted to have one for Ace to take off later.

So, I decided to make one!

I had seen this picture on Pinterest and I really liked the fact that it was lace and not just elastic with satin fabric.

Via Pinterest

You will need:
Stretch lace trim (I got mine at hobby lobby).
Three fabric flowers and extra fabric that matches the flowers
Small beads
Clear/white/ivory thread (and needle)

To begin, measure your thigh and cut your lace trim 1" shorter than this.
Sew the edges together by overlapping 1" of the lace and doing a zig zag over the raw edges. Like so...


Now it's time for the fun part!


Gather your fabric flowers and decide how you want to arrange them. Learn how to make these fabric flowers here and here. I added gold beads to the center of my flowers. 

I took a picture of how I wanted to arrange them (I ended up changing the arrangement, but that helped me have an idea for when I sewed them on).


Pin the flowers in place and sew a couple of stitch to keep them in place.


Later on, I added a few fabric "petals" under one of the flowers. 


And more beads directly onto the lace in the shape of a leaf.
And tadah! You are done :)


If I were to throw my garter, I would probably make a second one, but without the bling; the bling was very time consuming

God bless,
Aranza


Wednesday, January 22, 2014

DIY: Will you be my bridesmaid invitation


You guys know that I'm engaged, so part of the wedding planning process was asking my best friends to be a part of the happiest day of my life!

I didn't want to just go up and ask them. I wanted to ask them in a more personal, and thoughtful way. 

So, I surfed the web for different ideas on how to do this, and I found a few cute one, but none of them were hitting the mark.

Will You Be My Bridesmaid/maid of honor?
Too simple
Will you be my bridesmaid?
Again, too simple

can't say i do without you...perhaps thinking differently, a little something to give your groom before the wedding....a gift, a note etc
I loved the idea of a treasure box, but I had to make 7 of them


So, when I saw these little dress boxes at goodwill (apparently, they are from the dollar store), I was flooded with ideas!

And this is what I came up with.

I liked the idea of giving them a fabric swatch for my wedding colors (which are constantly changing hehehe), so I decided to make a flower out of them.


I started by cutting many circles in my wedding colors. To make the "flowers" I folded each circle in 4 and run the corners through my sewing machine one after the other. I ended up with a string of 8 or so little circles (that looked more like triangles now). Then, I formed the shape of the flower and secured them in place (stitches or glue)


I made 7 of these "flowers" (I have 7 bridesmais)


Then I moved onto the little dresses.
I cut a square about 2 inches bigger all around than the cardboard dress form. I went to my sewing machine and sewed through the waist part of the dress gathering the fabric as I went. It took me about 5 minutes to sew all of them.

To finish them off, I tucked the sides of the dress in and hot glued them in place (to avoid as many fraying edges as possible.

This is what it looked like at this point (except without the ribbon.. thats where the gathering happened)


I glued the top of the dresses and cut the sweetheart shape.
Added the ribbon/lace, and then I moved on to the insides!


I basically just glued a personalized "letter" (which I found online) asking them to be my bridesmaids.. and, of couse, I couldn't forget the ring!


Tuesday, December 17, 2013

Tutorial: DIY Christmas Trees (with fabric flowers)


Soooo, maybe next year I'll get better at posting Christmas decoration DIYs a month before Christmas

Meanwhile, here is a little tutorial for a very inexpensive and easy little Christmas tree. There's actually two versions (as seen in the above picture), but they both start the same way.

You will need:
 Cardstock (as big as you want your cone to be.. Mine are about 8" tall)
Tape
Glue gun and glue
1/4 yard of felt
Some creativity!

You have to make a cone with cardstock paper (like in geometry... Or the lazy and less a accurate way like me). 

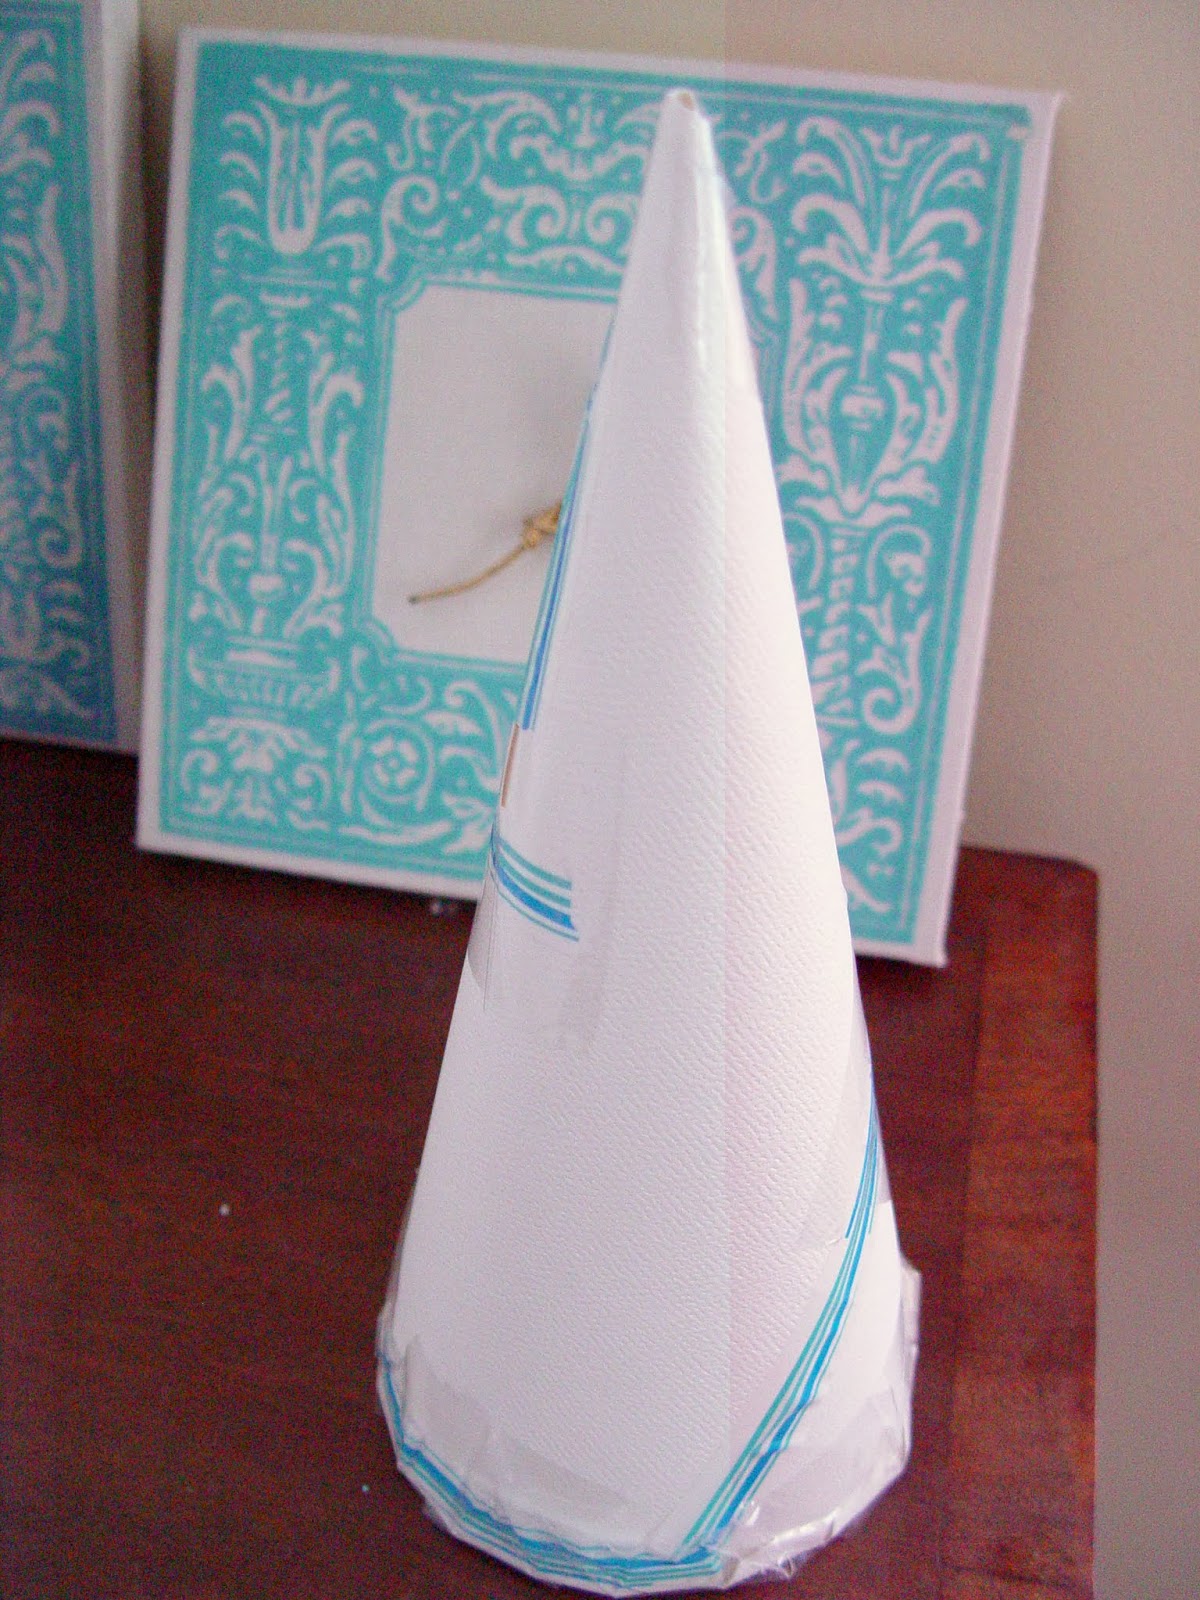
Make the top part by cutting a "triangle" with a rounded bottom from a piece of paper, and the joining the edges and securing them with tape (preferifly clear)


Trace around the diameter of the cone like so


 And cut about 1cm around the marked circle


Proceed to cut little triangles out of the edges (like shown in the above picture) and the. Bending the flaps up like so:


Before taping the bottom to the top part of the cone, you can stuff it with newspaper or magazines to make it sturdier, but I didn't have any, so I slept that step..


And tadah! Here is the result for the naked cone
I should note that I used red cardstock to make the naked cones for the red trees so it wouldn't show too much.

The fun part begins now! 

I cut about 60 circles from 1"-2" in diameter and did a cut like shown in the picture below


I then proceeded to make "flowers" by twisting the felt on itself.. Like shown in the above picture.. Here is a close up


I started from the bottom and worked my way around adding different sized florettes making sure it didn't look too even
And I topped it off with a little ball made out of little circles.


For the second tree, I cut about a million and one little circles ranging anywhere from 1"- 2" in diameter and I used this technique to make it look like flowers


And here is the finished product for both!


I'm not gonna lie, the second technique took a looooong time to do (like, 2 hours..) The first one only about 15 minutes! (Once I had everything cut out and stuff)


God bless (And merry Christmas!!),
Aranza

Thursday, December 12, 2013

Tutorial: DIY fabric flowers


Today I wanted to share a little tutorial on fabric flowers.


These are the flowers you will be learning how to make. I will be using these in another tutorial (for a garter!!) But I wanted to make a separate post you can reference.


Get your supplies..

Start with a square as big as you want your flowers to be (mine is 2")


Fold in half once

And again


And once more


Once you have your triangle, cut one, 2 or three curves like so..


I did one and two curves to show you the different looks you will get.


Open them up and that's what they look like


Fold them 3 or 4 times and you will get different looks (fullness).

Now just attach them from the corners using glue or a needle and thread (I usually string about 6 petals together, and then secure them in the place with some more stitches).

Here's a few of the ones I made and how I made them


Number 1: It took 5 organza petals (3" squares), and a ruffle of lace underneath. I also added some gold beads
Number 2: 1 small flower of 6 ivory petals (2" square), 3 petals of organza (2.5" squares), 1 layer of lace trim ruffled, 5 petals of ivory fabric (3.5" squares).
Number 3: 10 ivory ruffles (2" squares)
Number 4: 6 ivory ruffles and 4 organza ones (2" squares)


Imagine the endless possiblities for these. You could attach them to a headband for that adorable niece (or for yourself). Think belts, "bows" for christmas presents, brooches..

Stay in tune for another fabric flower tutorial! And a tutorial on how I used these for my garter :)


God bless,
 Aranza