Pages

Showing posts with label Christmas. Show all posts

Tuesday, December 17, 2013

Tutorial: DIY Christmas Trees (with fabric flowers)


Soooo, maybe next year I'll get better at posting Christmas decoration DIYs a month before Christmas

Meanwhile, here is a little tutorial for a very inexpensive and easy little Christmas tree. There's actually two versions (as seen in the above picture), but they both start the same way.

You will need:
 Cardstock (as big as you want your cone to be.. Mine are about 8" tall)
Tape
Glue gun and glue
1/4 yard of felt
Some creativity!

You have to make a cone with cardstock paper (like in geometry... Or the lazy and less a accurate way like me). 

Make the top part by cutting a "triangle" with a rounded bottom from a piece of paper, and the joining the edges and securing them with tape (preferifly clear)


Trace around the diameter of the cone like so


 And cut about 1cm around the marked circle


Proceed to cut little triangles out of the edges (like shown in the above picture) and the. Bending the flaps up like so:


Before taping the bottom to the top part of the cone, you can stuff it with newspaper or magazines to make it sturdier, but I didn't have any, so I slept that step..


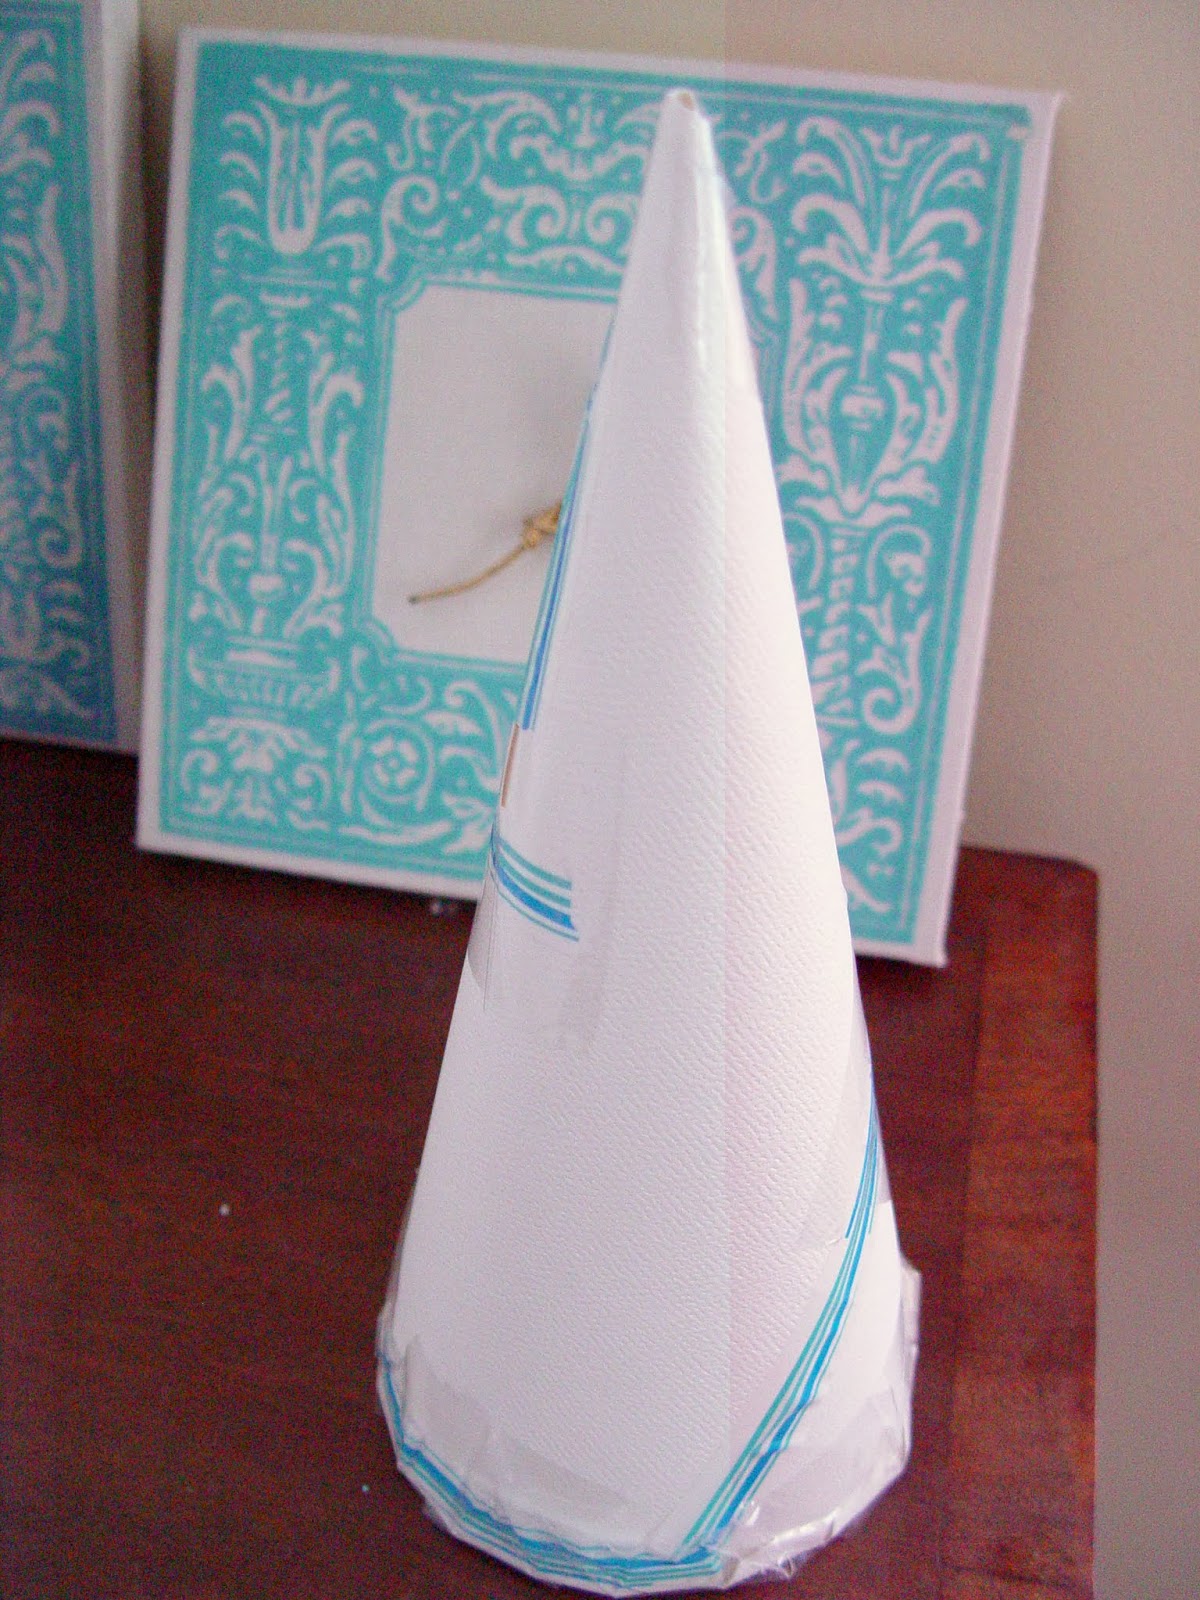
And tadah! Here is the result for the naked cone
I should note that I used red cardstock to make the naked cones for the red trees so it wouldn't show too much.
The fun part begins now! 

I cut about 60 circles from 1"-2" in diameter and did a cut like shown in the picture below


I then proceeded to make "flowers" by twisting the felt on itself.. Like shown in the above picture.. Here is a close up


I started from the bottom and worked my way around adding different sized florettes making sure it didn't look too even
And I topped it off with a little ball made out of little circles.


For the second tree, I cut about a million and one little circles ranging anywhere from 1"- 2" in diameter and I used this technique to make it look like flowers


And here is the finished product for both!


I'm not gonna lie, the second technique took a looooong time to do (like, 2 hours..) The first one only about 15 minutes! (Once I had everything cut out and stuff)


God bless (And merry Christmas!!),
Aranza

Thursday, December 12, 2013

Tutorial: DIY fabric flowers


Today I wanted to share a little tutorial on fabric flowers.


These are the flowers you will be learning how to make. I will be using these in another tutorial (for a garter!!) But I wanted to make a separate post you can reference.


Get your supplies..

Start with a square as big as you want your flowers to be (mine is 2")


Fold in half once

And again


And once more


Once you have your triangle, cut one, 2 or three curves like so..


I did one and two curves to show you the different looks you will get.


Open them up and that's what they look like


Fold them 3 or 4 times and you will get different looks (fullness).

Now just attach them from the corners using glue or a needle and thread (I usually string about 6 petals together, and then secure them in the place with some more stitches).

Here's a few of the ones I made and how I made them


Number 1: It took 5 organza petals (3" squares), and a ruffle of lace underneath. I also added some gold beads
Number 2: 1 small flower of 6 ivory petals (2" square), 3 petals of organza (2.5" squares), 1 layer of lace trim ruffled, 5 petals of ivory fabric (3.5" squares).
Number 3: 10 ivory ruffles (2" squares)
Number 4: 6 ivory ruffles and 4 organza ones (2" squares)


Imagine the endless possiblities for these. You could attach them to a headband for that adorable niece (or for yourself). Think belts, "bows" for christmas presents, brooches..

Stay in tune for another fabric flower tutorial! And a tutorial on how I used these for my garter :)


God bless,
 Aranza


Sunday, December 1, 2013

DIY: Awesome Christmas Basket!!

Hello!
I wanted to share a gift idea for the holidays.
Every year, my family and I want to give gifts to everyone we know, but... We don't always know what to give!!!
So, last year, we decided to make baskets for our relatives and friends and this is what one of them looked like


Here is the recipe for the marshmallows

I used a rotary cutter to cut little squares (for the hot coco, and snacking) and cookie cutters to make cool Christmas shapes!


 I put the cool shapes in clear containers that I don't know where I got from...
And the square ones in clear celophan bags..


The basket has a fabric stocking, a Christmas plate, chocolate flavored Twizzlers (my cousin's favorite), Hershey's bars, a box of varied chocolates, cookies in a jar, and a bag (and little clear container) of marshmallows.. I also added a container with hot coco mix and then covered the basket with clear shrink wrap (which was a failure! hehe)


And I had some of this left over (the odd shapes after cutting with the cookie cutters) My mom, brother and I ate them all within a day!!!

Happy Holidays!!

Aranza

Thursday, November 14, 2013

White Sweater Refashion. Add length to a sweater or shirt


Hello everyone!

I hope you are having a wonderful day :)


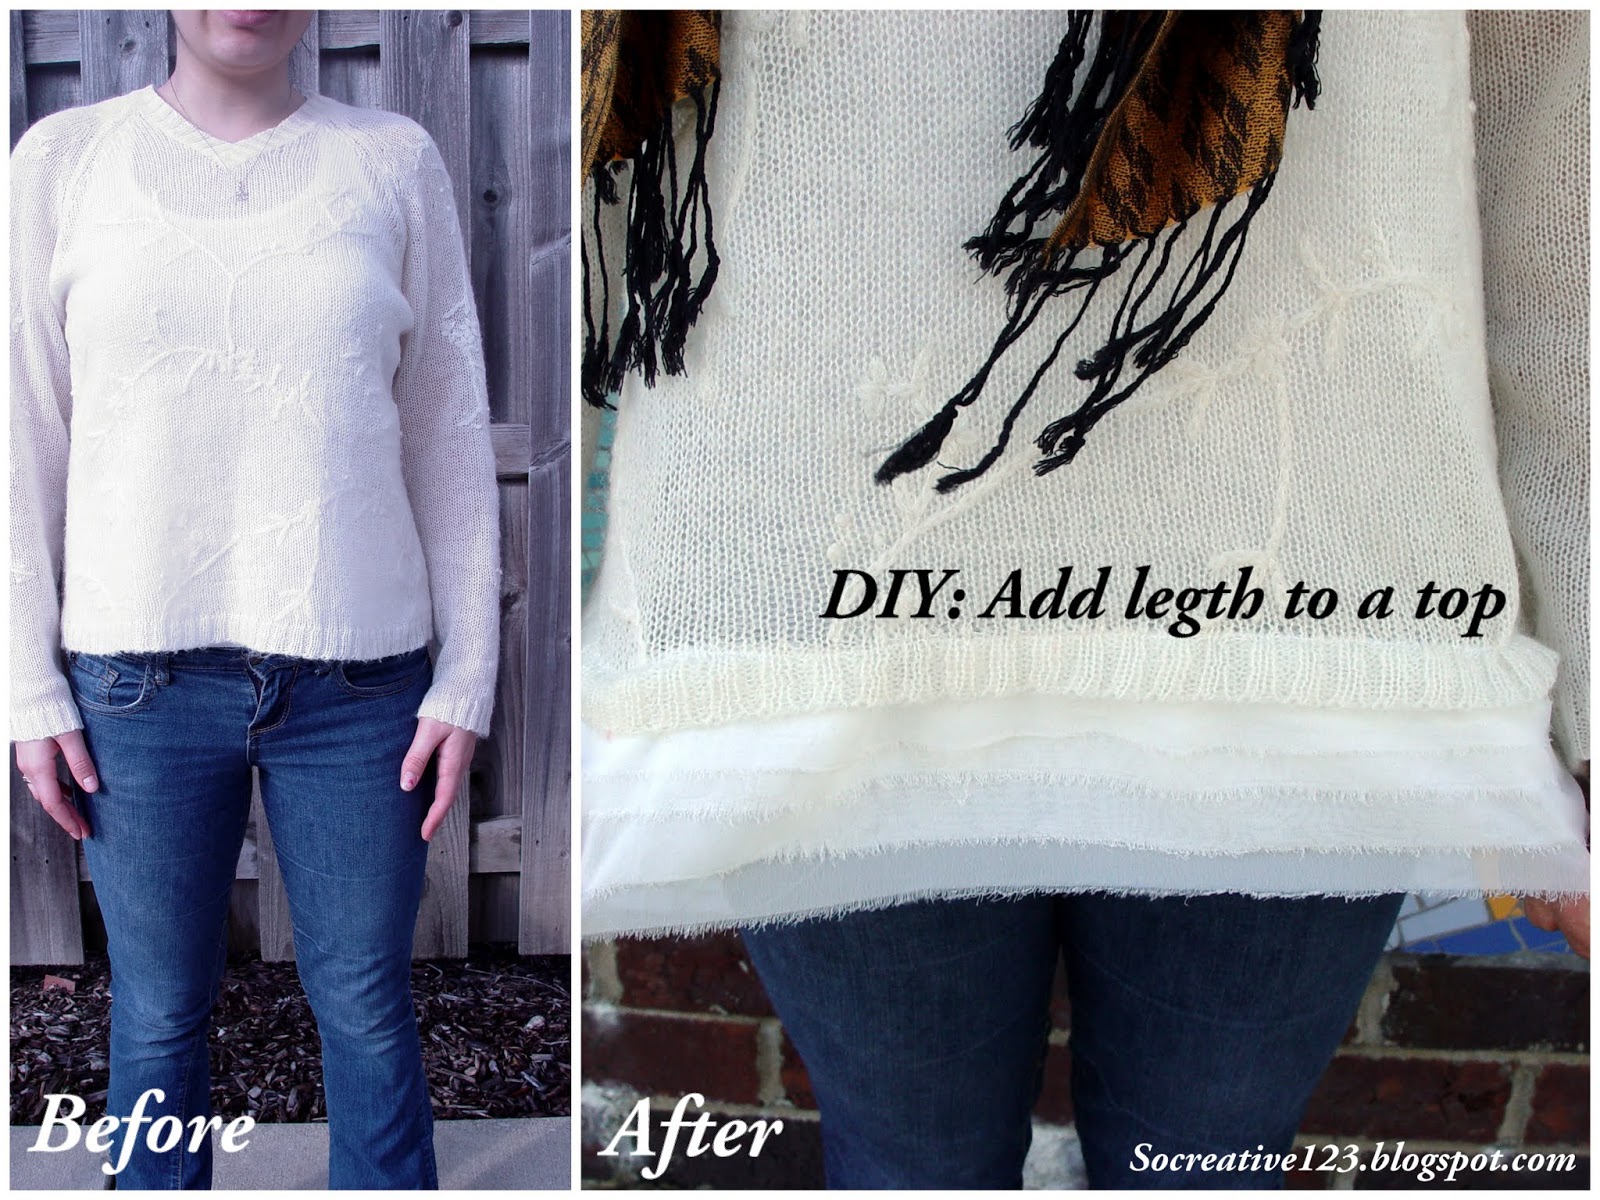
Today, I wanted to share a little refashion tutorial that could come in handy when you have a shirt or sweater that you like, but happens to be too short.
See, I had this delicate white sweater perfect for winter (it has little snowflakes embroidered all over)


But it fit me kind of awkward and it was too short.

A couple of weeks ago I saw a friend wearing a baggy sweater with 3 layers of chiffon attached to the bottom; I thought it looked so delicate. It also made her look like she had tons of layers on, so I decided to take that idea and add some length to my awkward sweater..


For this refashion you will need about 1/4 of a yard of chiffon (you could also use lace for one of the layers to add even more texture!).


I started by cutting the chiffon in half the long way (I actually cut a small slip, and then tear the sides appart.. this helped give it a fraying look and kept the strips even)


I placed one of the strips on top of the other like so:

And then I folded them in half leaving about an each of space in between to get those layers.

Pin in place


All the way around the strip


I made sure that my end were even


And then I sewed about 1/8" from the folded edge (making sure I was sewing through all the layers) to keep them together


The last step I didn't get a picture of, but I basically just pinned the strip in place (at the bottom of the sweater) and sewed with a zig-zag stitch. I didn't know how much of the strip I would use because I knew the sweater would expand as I started sewing. So I decided to start sewing on one of the side seams, leving about 1/4" of the strip unattached, so that at the end, I could attach both edges and then cut the excess.

And this is what the finished product looks like!


I love it!!!

God bless, Aranza